There was a problem with retrieving your Domain Key (Litespeed cache)
Table of Contents
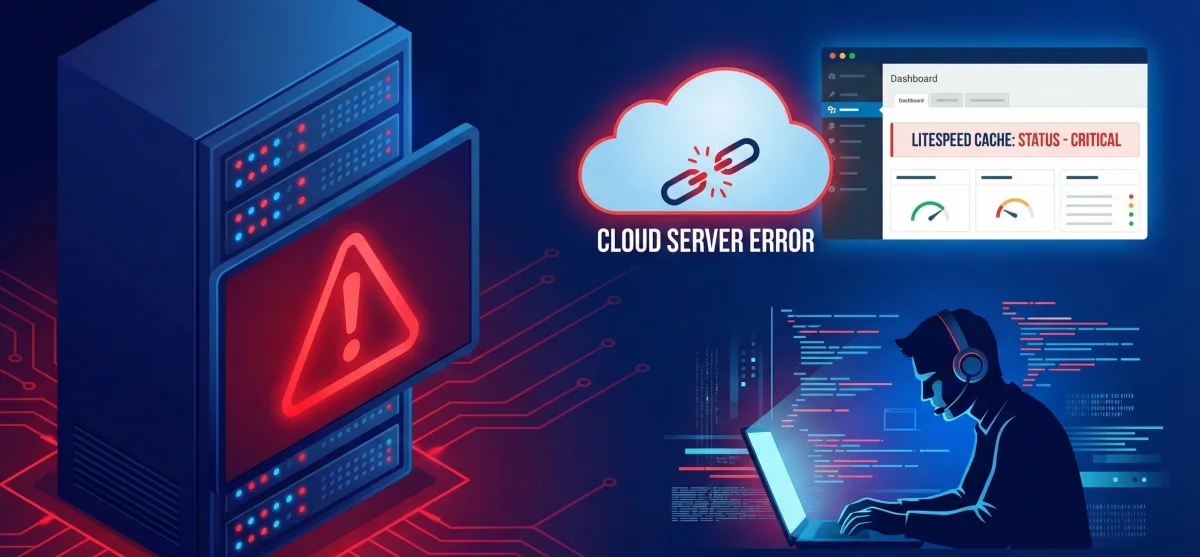
There Was a Problem Retrieving Your Domain Key – LiteSpeed Cache Fix
When using LiteSpeed Cache for WordPress, many users encounter the error:
“There was a problem with retrieving your domain key.”
This error prevents LiteSpeed Cache from connecting to QUIC.cloud, which is required for features like page caching, image optimization, CDN, and CSS/JS optimization.
Without the domain key, LiteSpeed Cache cannot function properly.
Below is a complete explanation of why this happens and how to fix it step by step.
Why This Error Happens
LiteSpeed Cache requires a domain key to authenticate your website with QUIC.cloud servers. If your server blocks this communication, the plugin cannot retrieve the key.
The most common reasons include:
Firewall Blocking QUIC.cloud
Server-level firewalls (CSF, UFW, Cloud Firewall) often block outbound requests made by LiteSpeed Cache.
Security Plugins Interference
Security plugins like:
-
Wordfence
-
Sucuri
-
iThemes Security
may flag QUIC.cloud connections as suspicious and block them automatically.
Hosting Provider Restrictions
Some hosting providers restrict outgoing requests or block unknown IP ranges for security reasons.
Incorrect LiteSpeed Configuration
If LiteSpeed is not configured to trust client IP headers or the WebAdmin panel is misconfigured, domain key requests may fail.
How to Fix “Retrieving Your Domain Key” Error
Step 1: Login to LiteSpeed WebAdmin
Access LiteSpeed WebAdmin using:
Or via your hosting panel if LiteSpeed is pre-installed.
Step 2: Allow QUIC.cloud IP Addresses
Go to:
Configuration → Server → Security
Find Allowed List / Allowed IPs and add QUIC.cloud IP addresses.
You can find the latest IP list here:
👉 https://quic.cloud/ips
After adding the IPs, click Save.
Step 3: Update Server Configuration
Navigate to:
Server Configuration → General → General Settings
Set:
Use Client IP in Header → Trusted IP Only
Save changes.
Step 4: Restart LiteSpeed Server
From WebAdmin:
Actions → Restart LiteSpeed
This step is required for changes to take effect.
How to Reset LiteSpeed WebAdmin Login (If You Can’t Access It)
Step 1: Login to Server via SSH
Step 2: Run This Command
Step 3: Set Login Credentials
Username: admin
Password: (set your own or CyberPanel password)
Step 4: Open Firewall Port 7080
Go to:
CyberPanel → Security → Firewall
Add:
Reload or restart firewall.
Step 5: Access LiteSpeed WebAdmin
Open in browser:
Login using the credentials you just created.
Additional Troubleshooting Tips
✔ Disable security plugins temporarily and test
✔ Allow QUIC.cloud IPs in Cloudflare firewall
✔ Ensure outbound connections are allowed
✔ Update LiteSpeed Cache plugin
✔ Clear cache and retry domain key request
Recommended Hosting for LiteSpeed
For smooth LiteSpeed + QUIC.cloud integration, we recommend:
Hostinger VPS Hosting
✔ LiteSpeed pre-installed
✔ QUIC.cloud compatible
✔ Fast performance
✔ Affordable pricing
👉 Use Coupon Code: DISCOUNT7